Dried to Alive: Mushroom Growing Made Easy
As someone who loves to cook with fresh mushrooms, I found myself frustrated with the limited options available at my local grocery store.
That’s when I decided to try growing mushrooms at home using dried mushrooms as a starting point. Not only was it a fun and rewarding experience, but it also saved me money in the long run.
If you’re interested in growing your own mushrooms, starting with dried mushrooms is a great way to get started. It’s a simple process that requires minimal equipment, and the results are delicious and nutritious.
In this guide, I’ll walk you through the steps to successfully grow mushrooms from dried mushrooms. Let’s get started!
My Guide to Growing Mushrooms from Dried Mushrooms
Preparing the Materials
Before diving into the process of growing mushrooms from dried mushrooms, it’s essential to gather and prepare the necessary materials. This section will cover the selection of the right type of dried mushrooms, preparation of the growing medium, and sterilization of equipment.
Selection of the Right Type of Dried Mushrooms
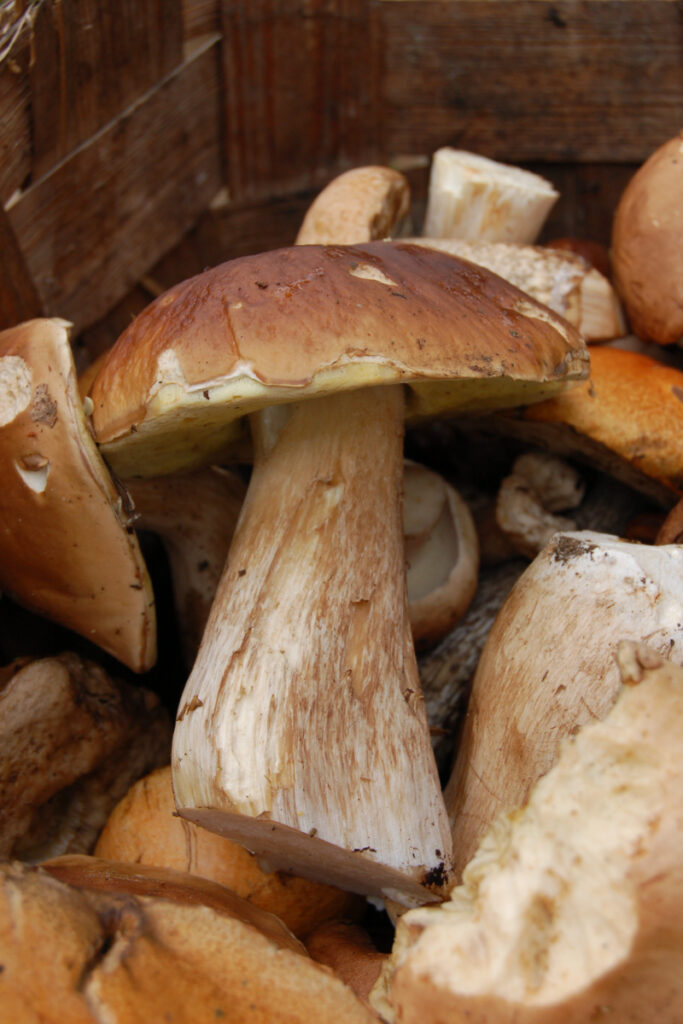
Not all dried mushrooms are suitable for growing at home. It’s crucial to choose a variety that is both easy to grow and compatible with the available growing conditions. Some popular options for beginners include oyster mushrooms, shiitake mushrooms, and white button mushrooms. When purchasing dried mushrooms, ensure they have not been treated with any preservatives or chemicals, as this can hinder their growth.
Preparation of the Growing Medium
Mushrooms require a nutritious substrate (growing medium) to thrive. The most common substrates used for mushroom cultivation are hardwood sawdust, straw, or a mixture of both. Here’s how to prepare your chosen substrate:
- If using straw, chop it into small pieces (approximately 1-3 inches in length). If using sawdust, ensure it’s from untreated hardwood.
- For straw-based substrates, soak the chopped straw in water for 24 hours. For sawdust-based substrates, moisten the sawdust until it reaches a consistency where it holds its shape when squeezed but doesn’t release excess water.
- Drain the soaked straw or adjust the sawdust’s moisture content accordingly.
- Optional: To boost the nutritional content of your substrate, you can mix in a small amount of organic material like coffee grounds or wheat bran.
Sterilization of Equipment
Sterilization is a crucial step in the mushroom cultivation process, as it helps prevent contamination by competing organisms. Here’s how to sterilize your equipment and substrate:
- Gather the necessary equipment: a large pot or pressure cooker, spawn bags or jars with lids, and a pair of heat-resistant gloves.
- Wash the spawn bags or jars with soap and water, then rinse thoroughly.
- Fill the spawn bags or jars with the prepared substrate, leaving some room at the top for air exchange.
- Seal the bags or jars with their respective lids. If using jars, poke small holes in the lids to allow for air exchange.
- Place the filled bags or jars in the pot or pressure cooker and cover them with water. Bring the water to a boil and let it simmer for at least 90 minutes to sterilize the substrate. If using a pressure cooker, follow the manufacturer’s instructions for sterilization.
- Once the sterilization process is complete, carefully remove the bags or jars from the pot or pressure cooker using heat-resistant gloves and let them cool to room temperature.
Spawning
Spawning is the process of introducing mushroom spores or mycelium (the vegetative part of a fungus) into the sterilized substrate. This step is crucial for initiating mushroom growth. In this section, we’ll cover the preparation of the spawn, mixing it with the growing medium, and the incubation period.
Preparation of the Spawn
To grow mushrooms from dried mushrooms, you’ll need to extract the spores or mycelium from the dried specimens. Here’s how to do it:
- Soak the dried mushrooms in water for 24 hours to rehydrate them.
- After the mushrooms have rehydrated, carefully remove the stem or cap (depending on the mushroom variety) and place it on a sterile piece of aluminum foil or wax paper.
- Cover the stem or cap with a clean glass or plastic container and let it sit for 24-48 hours at room temperature. This will allow the spores to drop onto the foil or wax paper.
- Once the spores have been collected, scrape them off the foil or wax paper using a sterile scalpel or knife and mix them with a small amount of sterilized water to create a spore solution.
Alternatively, you can purchase ready-to-use spore syringes or mycelium-infused grain spawn from a reliable supplier.
Mixing the Spawn with the Growing Medium
Now that you have your spawn prepared, it’s time to inoculate the sterilized substrate:
- Wipe down your work surface and hands with a disinfectant or rubbing alcohol to minimize contamination risk.
- Carefully open the cooled spawn bags or jars containing the sterilized substrate.
- Using a sterile syringe, transfer the spore solution or mycelium-infused grain spawn into the spawn bags or jars. If using spore solution, inject it evenly throughout the substrate. If using grain spawn, mix it thoroughly with the substrate.
- Seal the bags or jars and gently shake them to distribute the spores or mycelium evenly throughout the substrate.
Incubation Period
With the spawn and substrate combined, it’s time to give your mushrooms a chance to grow:
- Place the inoculated spawn bags or jars in a dark, warm area with a temperature between 70-75°F (21-24°C). Avoid direct sunlight, as this can inhibit mycelium growth.
- Monitor the bags or jars for signs of mycelial growth, which will appear as white, fuzzy patches on the substrate. This process can take anywhere from 1-3 weeks, depending on the mushroom variety and growing conditions.
- During this time, ensure that the bags or jars have adequate air exchange by loosening the lids or opening the bags slightly. Be cautious of contamination, and avoid touching the substrate directly.
- Once the substrate is fully colonized by the mycelium (it should look like a solid white mass), it’s time to move on to the fruiting stage.
Fruiting
Fruiting is the stage where your mushrooms will start to grow and develop their characteristic caps and stems. This section will cover the conditions required for fruiting, humidity and temperature control, and harvesting.
Conditions for Fruiting
To trigger the fruiting process, you’ll need to create specific environmental conditions that mimic the natural habitat of your chosen mushroom variety. Here’s how to set up your fruiting chamber:
- Choose a suitable container for fruiting, such as a clear plastic storage bin or a large aquarium. The container should be large enough to accommodate the fully grown mushrooms and have a lid or cover to maintain humidity.
- Create holes or vents in the container’s sides and lid to allow for air exchange. Cover the holes with a filter material like polyfill or micropore tape to prevent contamination.
- Place a layer of moistened perlite or vermiculite at the bottom of the container to help maintain humidity. Alternatively, you can use a humidifier or spray bottle to mist the inside of the container regularly.
- Transfer the fully colonized substrate from the spawn bags or jars to the fruiting container. If the substrate is in a bag, you can simply open the bag and place it directly on the perlite or vermiculite layer. If using jars, remove the colonized substrate and place it on a sterilized tray or plate before placing it in the container.
Humidity and Temperature Control
Maintaining the right humidity and temperature levels is crucial for successful mushroom growth. Here’s what you need to do:
- Monitor the humidity inside the fruiting chamber using a hygrometer. Most mushroom varieties require a humidity level of 80-90%. If the humidity is too low, mist the inside of the container or add more moistened perlite or vermiculite.
- Keep the temperature inside the fruiting chamber slightly lower than the incubation temperature, ideally between 65-70°F (18-21°C). This drop in temperature is a signal to the mycelium that it’s time to start producing mushrooms.
- Ensure that the fruiting chamber receives indirect light for 12-16 hours per day. Natural sunlight or artificial lighting from a fluorescent or LED bulb will work, but avoid direct sunlight, as it can cause overheating and drying.
Harvesting
After setting up the fruiting chamber and maintaining the right conditions, your mushrooms should begin to grow:
- Monitor the growth of your mushrooms daily. As they grow, you’ll notice small “pins” forming on the surface of the substrate. These pins will eventually develop into full-grown mushrooms.
- Depending on the mushroom variety, it may take anywhere from a few days to several weeks for the mushrooms to reach maturity.
- Harvest the mushrooms when the caps have fully opened and before the spores start to release. To harvest, gently twist and pull the mushrooms from the substrate, or use a sterilized knife to cut them at the base of the stem.
- After harvesting, you may continue to maintain the fruiting conditions to encourage additional flushes (cycles) of mushroom growth. Depending on the variety and growing conditions, you may get 2-4 flushes from a single substrate.
Conclusion
In conclusion, growing mushrooms from dried mushrooms is a rewarding and enjoyable endeavor that allows you to produce fresh, delicious mushrooms right at home.
By following the steps outlined in this guide – preparing materials, spawning, fruiting, and harvesting – and adhering to the essential tips for successful cultivation, you will be well-equipped to embark on your own mushroom growing journey.
Remember to be patient, maintain cleanliness, experiment with different mushroom varieties, and connect with fellow growers to enhance your experience and knowledge.
As you cultivate your own mushrooms, you will not only enjoy the fruits of your labor but also gain a deeper understanding and appreciation for the fascinating world of fungi. Happy growing!