Lima Beans in a Bag: Exciting Gardening Hack
Ever since I was a child, I’ve always been fascinated by lima beans. Their unique taste and versatility in various dishes make them one of my favorite legumes. As an avid gardener, I’ve grown numerous vegetables and herbs over the years, but I wanted to try something different this time. That’s when I came across the idea of growing lima beans in a bag.
Not only is it a fun and educational project, but it also allows you to witness the entire germination process up close. So, I decided to give it a shot and document my journey in hopes that it would inspire others to try this simple yet rewarding gardening experiment.
My Journey to Growing Lima Beans in a Bag
Gathering Supplies
Before embarking on this lima bean adventure, it’s essential to gather all the necessary supplies. Here’s what you’ll need:
- Lima beans: You can find these in any gardening store or online. Make sure they are untreated seeds, as treated seeds may contain chemicals that hinder germination.
- Plastic bags: Ziplock bags work best for this project, as they are durable and easy to seal. You can use quart-sized or gallon-sized bags, depending on how many beans you want to grow.
- Paper towels: These will be used to create a moist environment for the beans to germinate.
- Water: To dampen the paper towels and maintain humidity inside the bag.
- Permanent marker: For labeling the bags with the date and type of seed, so you can keep track of their progress.
- A sunny windowsill or warm, well-lit area: This will provide the necessary warmth and light for the beans to germinate and grow.
Once you have gathered all your supplies, you’re ready to embark on the exciting journey of growing lima beans in a bag!
Preparing the Lima Beans
Before you start setting up the bag environment, it’s essential to prepare your lima beans to ensure successful germination. Follow these simple steps:
- Inspect the beans: Look for any damaged or discolored seeds and discard them, as they may not sprout properly.
- Rinse the beans: Place the lima beans in a colander or sieve and rinse them thoroughly under running water to remove any dirt or debris.
- Soak the beans: Fill a bowl with enough water to fully submerge the lima beans and let them soak overnight, or for at least 8-12 hours. This process softens the seed coat and kick-starts the germination process.
After soaking the beans, it’s time to set up the bag environment for their growth.
Setting Up the Bag Environment
Creating the perfect environment inside the plastic bag is crucial for the successful germination and growth of your lima beans. Here’s how to do it:
- Prepare the paper towels: Start by dampening two or three paper towels with water. Make sure they are moist but not dripping wet, as excess water can cause the beans to rot.
- Line the plastic bag: Place the damp paper towels flat at the bottom of the plastic bag. This will provide a moist environment for the beans to germinate and grow.
- Position the lima beans: Remove the soaked beans from the bowl and gently pat them dry with a clean towel. Then, evenly space them out on top of the damp paper towels inside the bag. Make sure they aren’t touching each other to prevent overcrowding as they sprout.
- Seal the bag: Once the beans are in place, carefully seal the plastic bag, ensuring there’s some air trapped inside. This will create a humid environment that promotes germination.
- Label the bag: Use a permanent marker to write the date and type of seed on the outside of the bag. This will help you keep track of the progress and compare the growth rate with any future experiments.
- Find a suitable location: Place the sealed bag in a warm, well-lit area, such as a sunny windowsill or under grow lights. The ideal temperature for lima bean germination is between 65-75°F (18-24°C).
Monitoring the Growth Process
As your lima beans embark on their journey of growth, it’s essential to keep a close eye on their progress and make adjustments as needed. Here’s what you should do:
Check on the beans daily
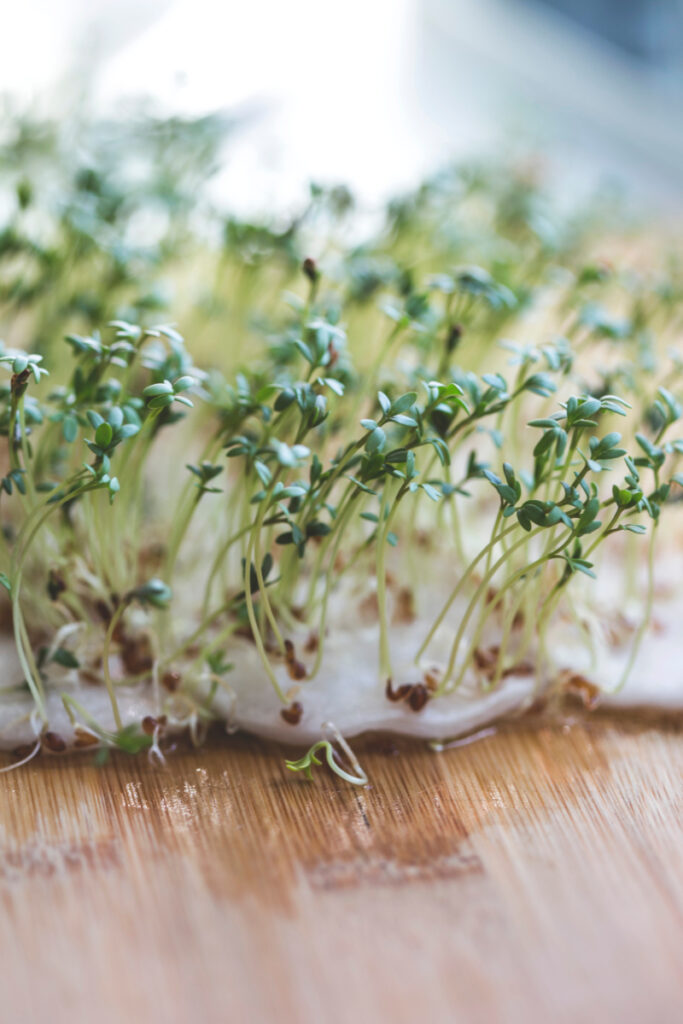
Observe the beans every day to ensure they are moist and healthy. You should start seeing sprouts within 3-10 days, depending on the temperature and bean variety.
Maintain moisture levels
If you notice that the paper towels have begun to dry out, carefully add a small amount of water to re-moisten them. Be cautious not to overwater, as this can cause the beans to rot.
Monitor for mold or rot
Keep an eye out for any signs of mold or rotting beans. If you spot any issues, remove the affected beans immediately to prevent the problem from spreading to the other beans.
Track growth progress
As the beans begin to sprout and grow, you’ll see the roots extending into the paper towels and the shoots emerging from the seeds. It’s a good idea to take pictures or jot down the growth progress in a journal, so you can document the entire process.
Transplanting the Sprouted Beans
Once your lima beans have sprouted and developed a healthy root system, it’s time to transplant them to a more suitable growing medium. Follow these steps to give your sprouted beans the best chance of thriving:
Choose the right time
The ideal time for transplanting is when the sprouts are about 1-2 inches long, with well-developed roots and a few leaves. This usually occurs within 2-3 weeks after germination.
Prepare the new growing medium
You can either transplant the sprouted beans into pots filled with a high-quality potting mix or directly into a garden bed, depending on your preference and available space. If planting in pots, make sure they have drainage holes to prevent waterlogged conditions.
Carefully remove the sprouts
Gently separate the sprouted beans from the paper towels, taking care not to damage the delicate roots. Use a pair of tweezers or your fingers to carefully disentangle the roots if they have grown into the paper towels.
Plant the sprouts
Dig a small hole in the potting mix or garden bed, deep enough to accommodate the root system. Place the sprouted bean in the hole, ensuring that the roots are fully covered, and gently pat the soil around it to secure it in place.
Water the transplanted beans
After transplanting, give the beans a thorough watering to help them settle into their new environment. Be careful not to overwater, as this can lead to root rot.
Caring for the Growing Lima Beans
Now that your lima beans have been transplanted, it’s crucial to provide them with proper care to ensure a healthy and bountiful harvest. Here are some essential care tips:
Watering
Keep the soil consistently moist but not waterlogged. Lima beans generally require about 1 inch of water per week, either from rainfall or supplemental watering. Make sure the soil drains well to prevent root rot.
Fertilizing
Although lima beans can fix nitrogen from the atmosphere, they may still benefit from additional nutrients. Apply a balanced, slow-release fertilizer at planting time, or use a liquid fertilizer according to the package instructions every 4-6 weeks.
Providing support
As your lima beans grow taller, they may need support to prevent them from toppling over. Install stakes, cages, or trellises to help support the plants and make harvesting easier.
Pest control
Keep an eye out for common pests like aphids, spider mites, and bean beetles. Use organic or chemical insecticides as needed, following the manufacturer’s instructions. You can also introduce beneficial insects like ladybugs to help control pests naturally.
Disease prevention
Practice crop rotation and avoid planting lima beans in the same location year after year to reduce the risk of soil-borne diseases. Remove any diseased plants promptly to prevent the spread of infection.
Harvesting and Enjoying Lima Beans
After several weeks of growth and care, your lima beans will be ready for harvest. Here’s how to know when it’s time to pick and enjoy your homegrown legumes:
Check for ripeness
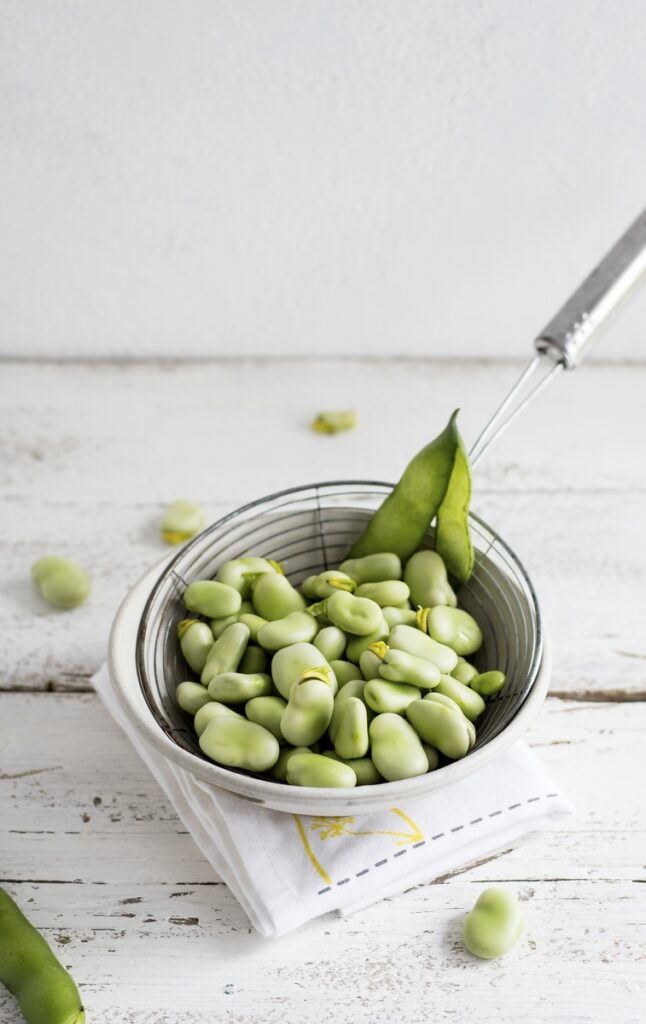
Lima beans are typically ready for harvest when the pods are plump and firm, with a bright green color. The beans inside should be fully formed but not bulging out of the pod. This usually occurs 60-90 days after planting, depending on the variety.
Harvest carefully
Gently pick the pods from the plants, being careful not to damage the vines or disturb any unripe pods still growing. It’s best to harvest in the morning when the pods are crisp and fresh.
Enjoy your lima beans
You can eat your freshly harvested lima beans either raw or cooked. To prepare them, remove the beans from the pods and rinse them well. You can then steam, boil, or sauté them, or add them to soups and stews. Lima beans also freeze well, so you can store your harvest for later use.
Conclusion
Growing lima beans in a bag has been an exciting and rewarding journey. From the initial germination process to transplanting the sprouted beans and caring for the growing plants, each step has been a fascinating learning experience.
I hope that my journey has inspired you to try this fun and educational project, whether you’re a seasoned gardener or a curious newcomer. With patience, care, and a little bit of luck, you too can enjoy the satisfaction of harvesting your very own homegrown lima beans!