Enoki Mushrooms: Turn Your Home Into a Farm
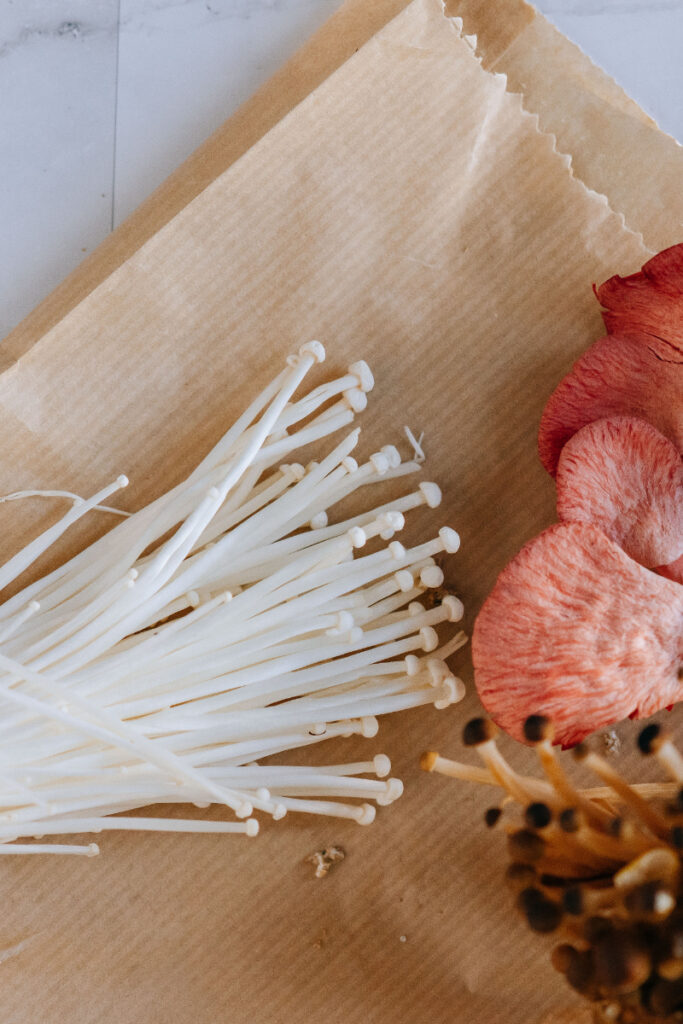
Ever since I first tasted enoki mushrooms in a delicious bowl of miso soup at a local Japanese restaurant, I’ve been captivated by their unique flavor and delicate texture. These thin, elegant mushrooms with tiny caps and long stems not only make for a visually appealing addition to various dishes but also offer numerous health benefits.
Intrigued by this fascinating fungus, I decided to embark on a journey to grow enoki mushrooms at home, and in this post, I’ll be sharing my experience and the lessons I learned along the way.
Growing enoki mushrooms at home might seem like a daunting task at first, but with some research, preparation, and patience, it’s absolutely achievable. I was determined to cultivate these tasty mushrooms in my own space, so I could enjoy them fresh whenever I wanted.
In the following sections, I’ll walk you through the steps I took to successfully grow enoki mushrooms, from setting up the growing environment to harvesting and enjoying the fruits of my labor.
So, if you’re ready to take on the challenge and grow your own enoki mushrooms, let’s get started!
My Journey to Growing Enoki Mushrooms at Home
Getting Started
Before diving into the actual process of growing enoki mushrooms, it’s essential to do some groundwork and gather the necessary tools and supplies. Here’s what I did to prepare for my enoki mushroom cultivation journey:
Researching Enoki Mushrooms
I began by learning as much as I could about enoki mushrooms, their growth requirements, and the conditions they thrive in. This helped me understand the specific temperature, humidity, and lighting needs of enoki mushrooms, which are crucial factors in successfully cultivating them at home.
Choosing the Right Growing Medium
Enoki mushrooms grow best on a substrate made from hardwood sawdust or hardwood chips, supplemented with wheat bran or rice bran.
After researching different options, I decided on a pre-made hardwood sawdust and bran mixture that was specifically designed for growing enoki mushrooms. This saved me time and effort in preparing the substrate myself, but you can also create your own mix if you prefer.
Gathering Necessary Tools and Supplies
To get started with enoki mushroom cultivation, I gathered the following tools and supplies:
- Enoki mushroom spores or mycelium: You can purchase these online or from a local mushroom cultivator. I opted for mycelium, as it provides a head start in the growing process.
- Substrate: As mentioned earlier, I used a pre-made hardwood sawdust and bran mixture.
- Sterilization equipment: A pressure cooker or autoclave is essential for sterilizing the substrate and tools.
- Growing bags or containers: I chose filter patch bags, which allow for air exchange while keeping contaminants out.
- Thermometer and hygrometer: These help monitor the temperature and humidity levels in the growing environment.
- Spray bottle: For maintaining moisture levels during the fruiting stage.
Setting Up the Growing Environment
Creating the perfect conditions for enoki mushrooms to thrive is crucial for a successful cultivation experience. Here’s how I set up the ideal growing environment for my enoki mushrooms:
Ideal Temperature and Humidity Levels
Enoki mushrooms have specific temperature and humidity requirements during different stages of their growth. For the initial mycelium colonization, I maintained a temperature between 72-77°F (22-25°C) and a humidity level of around 70-75%. Once the mycelium fully colonized the substrate, I dropped the temperature to 50-60°F (10-15°C) and increased the humidity to 90-95% for the fruiting stage.
To achieve these conditions, I used a small space heater and a humidifier in a dedicated room where I could closely monitor and control the environment. The thermometer and hygrometer were essential in helping me maintain the ideal temperature and humidity levels.
Proper Lighting Conditions
While enoki mushrooms don’t require a lot of light, they do need some indirect or diffused natural light for proper growth. I placed the growing bags near a window that received indirect sunlight, ensuring they weren’t exposed to direct, intense light, which can be harmful to the mushrooms.
Maintaining Air Circulation
Good air circulation is vital for healthy enoki mushroom growth, as it helps prevent the buildup of carbon dioxide and other contaminants. The filter patch bags I used allowed for passive air exchange, but I also made sure to gently fan the growing area with a clean piece of cardboard several times a day to promote active air circulation.
Inoculating the Substrate
Inoculating the substrate with enoki mushroom spores or mycelium is a critical step, as it sets the stage for the growth of the mushrooms. Here’s how I went about this process:
Selecting Quality Spores or Mycelium
I chose to use enoki mushroom mycelium instead of spores because mycelium has already established a network of fungal threads, providing a head start in the growing process.
You can purchase enoki mycelium or spores from a reputable online supplier or a local mushroom cultivator. Make sure to check reviews and ask questions if needed to ensure you’re getting a quality product.
Sterilizing the Work Area and Tools
Before inoculation, it’s essential to sterilize the work area and tools to prevent contamination. I wiped down surfaces with a 70% isopropyl alcohol solution and sterilized my hands, gloves, and any tools I would be using during the process. Additionally, I prepared the substrate by pressure cooking the sawdust and bran mixture at 15 psi for 90 minutes to kill off any potential contaminants.
Inoculating the Growing Medium
After allowing the sterilized substrate to cool, I transferred it into the filter patch bags, being careful not to touch the inside of the bags with my hands.
I then added the enoki mycelium to each bag, ensuring even distribution throughout the substrate. To minimize contamination risk, I completed this step as quickly and efficiently as possible.
Once the bags were inoculated, I sealed them with an impulse sealer and placed them in the prepared growing environment. It was now time to wait patiently as the enoki mycelium colonized the substrate and started its journey toward becoming delicious enoki mushrooms.
Caring for the Enoki Mycelium
During the colonization stage, it’s important to ensure the enoki mycelium remains healthy and continues to grow. Here’s how I cared for my enoki mycelium during this crucial stage:
Monitoring Growth Progress
After inoculating the substrate with enoki mycelium, I monitored the bags daily to check the progress of the colonization. Initially, the mycelium appeared as small white patches on the surface of the substrate, gradually expanding and connecting to form a dense network of white threads.
This process took approximately two to three weeks. It’s essential to avoid opening the bags during this stage, as it increases the risk of contamination.
Identifying and Addressing Potential Issues
While monitoring the growth of the enoki mycelium, it’s important to keep an eye out for any signs of contamination or issues that may arise. If the mycelium appears discolored, fuzzy, or has an off smell, it could be a sign of contamination.
In such cases, it’s best to discard the affected bags and sterilize the growing area before starting over. Fortunately, I didn’t encounter any contamination issues during my enoki mushroom cultivation journey.
Preparing for Fruiting
Once the mycelium has fully colonized the substrate, it’s time to prepare for the fruiting stage. At this point, I lowered the temperature to 50-60°F (10-15°C) and increased the humidity to 90-95% in the growing environment. I also made small holes or slits in the bags to provide the enoki mushrooms with an exit point, while ensuring they would grow long and slender, much like their natural appearance.
Harvesting Enoki Mushrooms
After all the patience and hard work, it’s finally time to harvest the enoki mushrooms. Here’s how I went about reaping the rewards of my cultivation journey:
Recognizing When Enoki Mushrooms are Ready for Harvest
Enoki mushrooms typically take one to two weeks to fruit after the mycelium has fully colonized the substrate. I kept a close eye on the growth, looking for signs that they were ready for harvest.
The ideal time to harvest enoki mushrooms is when the caps are still small and round, just before they begin to flatten out. Their stems should be long, thin, and creamy white, with the mushrooms forming tight clusters.
Proper Harvesting Techniques
To harvest the enoki mushrooms, I sterilized a sharp knife or pair of scissors and carefully cut the clusters at the base, close to the substrate. It’s essential to handle the mushrooms gently to avoid damaging their delicate texture. After harvesting, I inspected the mushrooms for any debris and gently brushed off any substrate particles.
Storing and Enjoying the Fresh Enoki Mushrooms
After harvesting the enoki mushrooms, I stored them in a paper bag or wrapped them in a damp paper towel inside a plastic container to maintain their freshness. They can be stored in the refrigerator for up to a week.
Finally, it was time to enjoy my homegrown enoki mushrooms! I used them in a variety of dishes, such as stir-fries, soups, and salads, and marveled at their fresh, unique flavor and delightful texture.
Final Thoughts and Tips for Success
Growing enoki mushrooms at home has been a rewarding and educational experience. Through trial and error, I learned valuable lessons that I’d like to share with fellow mushroom enthusiasts. Here are some final tips and thoughts to help ensure your enoki mushroom cultivation journey is a success:
Patience is Key
Mushroom cultivation requires patience, as the entire process from inoculation to harvest can take several weeks. It’s essential to give the mycelium enough time to colonize the substrate and the enoki mushrooms ample opportunity to grow. Avoid rushing the process or checking on the mycelium too frequently, as this may increase the risk of contamination.
Maintain Optimal Growing Conditions
As mentioned throughout this post, maintaining the proper temperature, humidity, lighting, and air circulation is crucial for successful enoki mushroom growth. Invest in good-quality equipment and monitor the growing environment closely to ensure optimal conditions are maintained.
Learn from Mistakes
If you encounter any issues during the cultivation process, don’t be disheartened. Instead, take it as an opportunity to learn and improve your techniques. Contamination, for example, is a common issue faced by many mushroom cultivators. If you experience this, analyze what went wrong and take steps to prevent it from happening again.
Experiment and Have Fun
Finally, remember to have fun and enjoy the process! Growing enoki mushrooms at home is an engaging and rewarding hobby that can lead to delicious results. Don’t be afraid to experiment with different substrates, growing environments, and techniques to find what works best for you.
Armed with these insights, you’re now ready to embark on your own enoki mushroom cultivation journey. Good luck, and happy growing!